Setting up a Consul cluster can be a tedious task if you do it manually. If you have to form a cluster of 3 server nodes (or more) and add hundreds of agent (client) nodes afterwards to the cluster, it becomes a nightmare, even if you create a script (e.g., Bash Script) to install and configure Consul on each node.
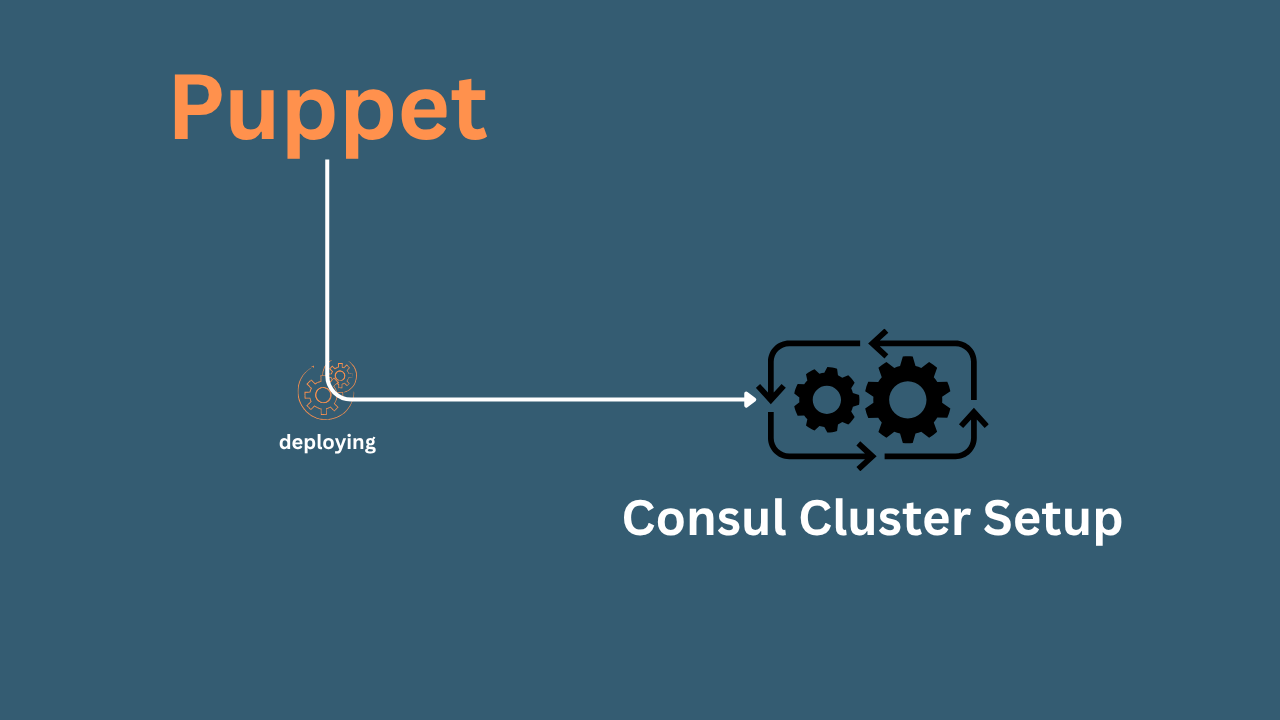
Continuing the Puppet Series, in this blog, I will guide you through automating the Consul Cluster setup to deploy configurations at scale. If you want to do it manually to understand the process clearly, you can refer to the Consul docs to learn more about it.

Prerequisites
- Having experience setting up a Puppet Server, I also follow the Roles and Profiles architecture and use r10k to manage Puppet modules. I already had Puppet installed.
- Prepare 5 x Ubuntu 24.04 (includes Puppetserver). You can build these servers using Vagrant/VirtualBox locally or create them by launching EC2 or whatever platform you prefer. Just noted that to form a cluster of 3 consul server nodes, maybe ideally for using AWS Autoscaling Group EC2 (for production) if you’re on AWS. Or simply look at the code I’ve implemented to give you an idea to implement the setup in your Puppet system.
| Hostname | IP address | Role |
| puppet-master.srv.local | 192.168.68.117 | Puppet Server (Master) |
| consul-01.srv.local | 192.168.68.55 | Consul Server Node 1 |
| consul-02.srv.local | 192.168.68.56 | Consul Server Node 2 |
| consul-03.srv.local | 192.168.68.57 | Consul Server Node 3 |
| web-01.srv.local | 192.168.68.99 | a web to test Consul Agent |
- I assumed that you registered the consul servers and web-01 server as Puppet Agents to the Puppet Server.
- All the code in this blog is on
https://gitlab.com/binhdt2611/puppet-demofor your reference.
NOTE: If you don’t know how to set up Puppet Master/Agent and configure basic roles and profiles, please read Setup Puppet 8 on Ubuntu 24.04 – Configuration Management for a Scaling Enterprise and Mastering Puppet: Implementing Roles and Profiles Effectively in Reality to set up the prerequisites. If you’re familiar with this setup and just want to have a quick look at how we use Hiera with roles and profiles, then you can skip those blogs.
Required Ports
If you implement this setup on AWS, you will need to open the following ports on Security Group so that Consul servers can communicate with each other.
- Server RPC (8300)
- Serf LAN gossip (8301)
- Serf WAN gossip (8302)
- HTTP API (8500)
- HTTPS API (8501)
- DNS Interface (8600)
- gRPC (8502)
You can visit here to see the details of these ports.
Adding puppet-consul module
If you follow me from both blogs mentioned above, under the project root path, we can develop new code directly on the production branch, but to be safe, we create a branch named automate_consul_setup, and start developing on this branch.
Next, to use Puppet to configure Consul, we will need to add puppet-consul module and its module dependencies to the Puppetfile file (under the project root path).
mod 'puppetlabs-inifile', '6.2.0'
mod 'puppet-systemd', '8.3.1'
mod 'puppet-hashi_stack', '3.3.0'
mod 'puppet-consul', '9.2.0'
Create a central profile class for configuring Consul
We will need to create a central profile class named profiles::consul. This profile class applies all Consul-related configurations to servers that require Consul setup.
Still under the project root path, we create a site/profiles/manifests/consul.pp file. That’s where we add class profiles::consul {}, we declare the following content:
# Class: profiles::consul
#
# Install and setup Consul-related configurations for servers
#
# @param configs Aggregates Consul configuration data defined in Hiera corresponding to the server/agent mode
#
class profiles::consul (
  Hash $configs = undef,
) {
  # Configure Consul cluster for server and agent nodes
  class { 'consul':
    config_hash => $configs,
  }
}
For the $configs parameter, we will use Hiera to set up different configuration settings based on the server/agent mode that each server uses for Consul. Puppet will then retrieve the key profiles::consul::configs to gather the right configurations for the nodes.
Create Hiera data for managing Consul configurations
Create a default Consul setting file for servers
In this part, we need to create a centralised Hiera data file storing the common Consul settings that all servers (server/agent mode) need. Under the project root path, create data/consul/default.yaml with content:
---
# lookup_options specifies which merge behaviour Hiera should use to aggregate data from specified keyword.
# E.g. keyword 'profiles::consul::configs' should use merge_behaviour is "hash"
# Visit https://help.puppet.com/core/8/Content/PuppetCore/hiera_automatic.htm to know more.
lookup_options:
  profiles::consul::configs:
    merge: hash

# Default config used by all servers that install Consul (both server/agent mode)
profiles::consul::configs:
  node_name: "%{facts.networking.hostname}"
  # Basically, 'advertise_addr' is the IP address that server use to communicate with other nodes
  # GetInterfaceIP returns the IP address on "eth1". Change "eth1" to your network interface name corresponding on your servers
  # Or set it to "%{facts.networking.ip}" if you have only 1 network interface on your servers.
  advertise_addr: "{{ GetInterfaceIP \"eth1\" }}"
  client_addr: "0.0.0.0"
  # Change \"192.168.68.0/24\" to your network address where the 'advertise_addr' is on
  bind_addr: "{{ GetAllInterfaces | include \"network\" \"192.168.68.0/24\" | sort \"size,address\" | attr \"address\" }}"
  data_dir: '/opt/consul'
  # This is just a demo, when you configure in your real project,
  # you should create your own string by running command "consul keygen"
  # And use "eyaml" to encrypt this string so that Puppet queries by hiera-eyaml.
  # Should not hard-code like this way.
  encrypt: 'zXrwndHlj2mFve09qkl7oq6H4ZbPwKB4c1jOhhHtxys='
  # We must enable this parameter to opt-in health checks that run scripts locally
  # Used for registering service that we configure later
  enable_local_script_checks: true
  datacenter: 'dc1'
  log_level: 'INFO'
  # By default, we set server to "false" so that all agent node can join in cluster
  # We will later add this config per group to enable "server" mode for consul-0* servers only
  server: false
  # Declared 3 Consul server nodes so that these servers can form a cluster.
  # Also for other agent nodes can join to the cluster.
  retry_join:
    - 'consul-01.srv.local'
    - 'consul-02.srv.local'
    - 'consul-03.srv.local'
Actually, the servers with “agent” mode just need this setting. We don’t have to redeclare it again on every node. That’s the power of Hiera data.
Create a custom Consul setting file for servers with “server” mode
The above configuration is for all servers, but servers with “server” mode need a few more settings. We again create a data/nodes/consul-server.yaml file under the project root path, where it stores configurations for servers with “server” mode. Add the following content:
---
lookup_options:
  profiles::consul::configs:
    merge: hash

# Let Hiera knows that consul-0* servers should use 'roles::consul'
server::role: 'roles::consul'

# profiles::consul::configs inherits configuration from ../consul/default.yaml
# It overrides/adds the options below with its own settings for consul-0* servers (server mode)
profiles::consul::configs:
  server: true
  bootstrap_expect: 3
  ui_config:
    enabled: true
If you want to override or add more settings to the original configurations from the key profiles::consul::configs in data/consul/default.yaml. You can use the same way we did above for data/nodes/consul-server.yaml. If you want to apply to a particular server, we have to create something like data/nodes/consul-01.srv.local.yaml, and append configurations to the profiles::consul::configs there.
Configure Hiera to know which data file to search for
When we create two files data/consul/default.yaml and data/nodes/consul-server.yaml, these are just Hiera data files, and if we don’t specify in hiera.yaml, Hiera won’t know which file to search for configuration.
We need to instruct Hiera to know, still under the project root path, open the hiera.yaml and update the highlighted content (you should arrange the data files’ order appropriately in your hiera.yaml, this is just a basic example):
---
version: 5
# ... Other configurations

hierarchy:
  - name: "Per-node data (yaml version)"
    path: "nodes/%{::trusted.certname}.yaml"

  # Other pre-defined yaml data files.

  # Should add this part below "Per-node data (yaml version)"
  - name: "Per-group data - Set configuration for nodes that has the same group if the data is the same between them"
    path: "nodes/%{facts.server_group}.yaml"

  - name: "Default Consul-config data for all nodes"
    path: "consul/default.yaml"

  # The rest of pre-defined yaml data file.
  - name: "Other YAML hierarchy levels"
    paths:
      - "common.yaml"
The settings on "nodes/%{facts.server_group}.yaml" will override the settings on "consul/default.yaml"
Create a custom fact for Hiera
Furthermore, you notice that we use %{facts.server_group}, this is a custom fact that I created manually. It groups all servers with the same purpose into a group that we have to define. For example, we have servers that run Consul with “server” mode, I classify them as “consul-server” group, so when e.g. consul-01.srv.local runs, the %{facts.server_group} queries that server_group fact, it resolves to data/nodes/consul-server.yaml which is the file we created above.
The custom fact is not built-in fact, to add that fact, still under the project root path, we create site/roles/lib/facter/assign_group.rb file with content:
Facter.add('server_group') do
  setcode do
    fqdn = Facter.value(:fqdn)
    if fqdn && fqdn.match?(/^consul-0\d+\.srv\.local$/)
      'consul-server'
    else
      nil
    end
  end
end
Now, every time the server runs, Hiera will be able to access the server_group fact while looking up the data.
Create a role class for Consul
Next, we need to create a role class named roles::consul that all consul-0* servers should apply. This role calls to profiles::consul class to apply the defined settings. We create site/roles/manifests/consul.pp and add the following content:
# Class: roles::consul
#
# Inherit configurations from roles::base and install configuration for a consul server
#
class roles::consul inherits roles::base {
  include profiles::consul
}
We also need to append the profiles::consul class to the web-01 server running in Consul agent mode. For example, under site/roles/manifests/web_server.pp (if you follow my previous blogs), add:
# Class: roles::web_server
#
# Inherit configurations from roles::base and install configurations for a web server
#
class roles::web_server inherits roles::base {
  # Other configurations ...

  # Apply consul configuration here.
  include profiles::consul
}
Basically, we just add include profiles::consul to any role that needs to install Consul (as agent mode).
(Optional) Make sure your servers have the unzip package installed as well. Otherwise, it will likely cause a failure to install Consul. That’s because the puppet-consul module uses unzip to extract the Consul package. You can install it yourself, or if you follow my previous blogs, you may already have site/profiles/manifests/base/packages.pp file in place. Just append the unzip package to the $packages list. That looks like this:
# Class: profiles::base::packages
#
# Install the necessary packages for the host.
#
class profiles::base::packages {
  $packages = [
    'socat',
    'net-tools',
    'unzip',
  ]

  package { $packages:
    ensure => installed,
  }
}
Testing
Once you push all your changes to the remote branch, log in your puppet-master server, deploy your changes by r10k to the corresponding environments.
Log in each consul and web server, run:
sudo /opt/puppetlabs/bin/puppet agent -t --environment=automate_consul_setupNote: if you start the
puppet-agentservice (started by default after installation), it will pull changes from the puppet-master in theproductionenvironment regularly. You can create a merge request to merge theautomate_consul_setupbranch intoproductionfor automatic deployment by Puppet. Puppet will roll out the changes to agent servers without us doing manually. I’m testing the code with--environment=automate_consul_setupto make sure it works and will merge later.
For the 3 Consul server nodes to form a cluster, all 3 nodes need to be up and running. We have to run the puppet agent command on the 3 server nodes.
After running puppet command on all nodes, you can access IP address of one of the consul server nodes. For example, I’ll access http://192.168.68.55:8500 (IP address of consul-01 server). We will see all nodes are up there.

Or on any arbitrary consul server node, run:
consul membersOutput:

We see consul-0* servers have type as “server”, and web-01 is “client” (agent) mode.
Check which server with the “server” mode is the leader, run:
consul operator raft list-peers
Normally, it should be the node which started first. Due to my network, the consul service restarted on consul-01, so it’s consul-02 is the leader now.
That’s all for this blog. This is a basic demo of setting up a Consul Cluster in production using Puppet. It’s extremely helpful; even when you have to relaunch your Consul servers, you don’t have to remember tedious tasks, as Puppet ensures your servers return to the state they used to be.
Furthermore, you may want to configure Consul ACL in production, but it’s out of the scope of this demo. If you’re interested, please leave me a comment. I’ll try my best to implement that in a separate blog or may improve this blog as well.
Share this:
Discover more from Turn DevOps Easier
Subscribe to get the latest posts sent to your email.